So, you’ve got a new security camera and are wondering how to watch it live online. You’re in the right place!
IP Camera Master allows you to watch all your ip cameras anywhere with as low as 100ms latency.
There are two main ways to watch security camera footage online. The first method is configuring the camera to upload frames at predefined intervals via
FTP Based Live Watching
With FTP-based live watch, your security camera uploads frames to the IP Camera Master cloud at regular intervals. This method is an affordable and simple way to monitor your camera feed remotely. Once configured, you can access and watch the frames in real-time through the IP Camera Master panel.
Step-by-Step Guide to FTP-Based Live Watching
Step 1: Create Camera and Get FTP Credentials
First, create a camera through the IP Camera Master panel. You can select any camera type since FTP is compatible with all models.
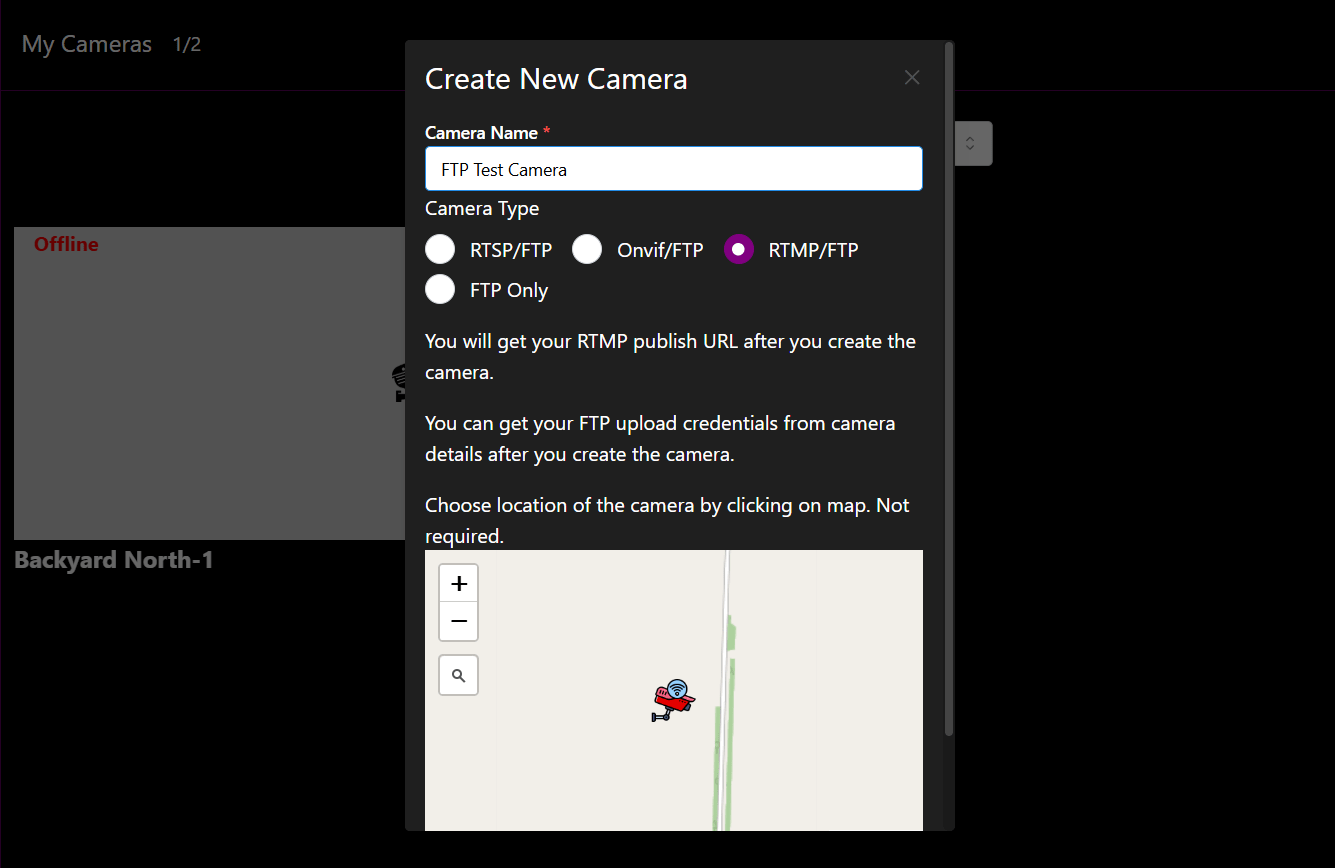
After creating the camera, navigate to "Actions" → "Camera Settings." Here, you will find the FTP endpoint and a unique camera password. These credentials will be used to link your security camera to the IP Camera Master cloud.
You will need the following details:
1- Username (Your IP Camera Master account email)
2- FTP Endpoint (Found in camera settings, e.g., ftp.ipcameramaster.com)
3- Camera Password (Retrieved from camera settings)

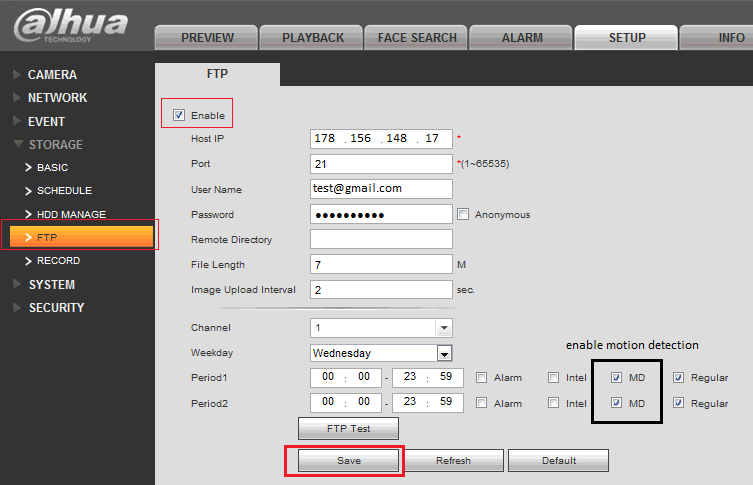
Step 2: Configure Camera FTP Through Its Panel
Connect your security camera to your local network via Ethernet or Wi-Fi. You can access the camera's control panel using its local IP address, which can typically be found using the manufacturer's software. Once inside the camera’s firmware panel, locate the FTP settings menu and enable FTP.
The exact menu names may vary depending on the camera model, but the necessary fields remain similar:
Host IP: 178.156.148.17 or
FTP Endpoint: ftp.ipcameramaster.com
Port: 21
Username: Your IP Camera Master account email
Password: Your camera password
Set the frame upload interval (e.g., every 2 seconds).
If available, enable the option to append DateTime to filenames.
Leave subfolder-related fields empty.
Some cameras support motion detection-based or periodic uploads—configure these settings if desired to avoid unnecessary uploads.
You can also adjust frame quality and resolution from the settings menu.
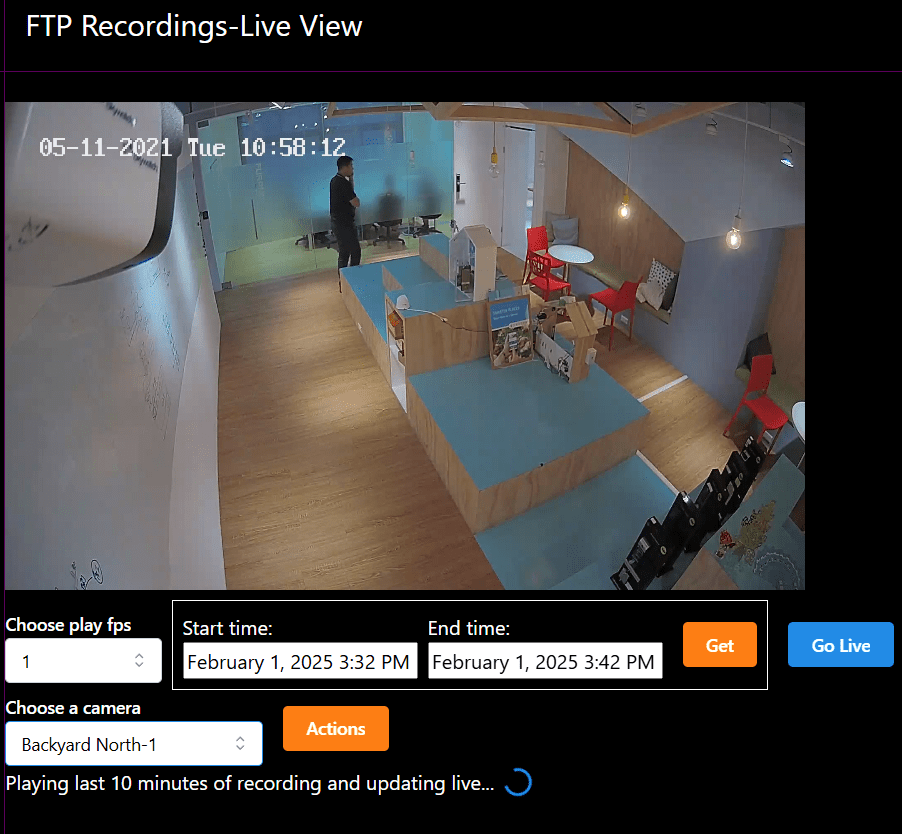
Step 3: Watch Camera Live
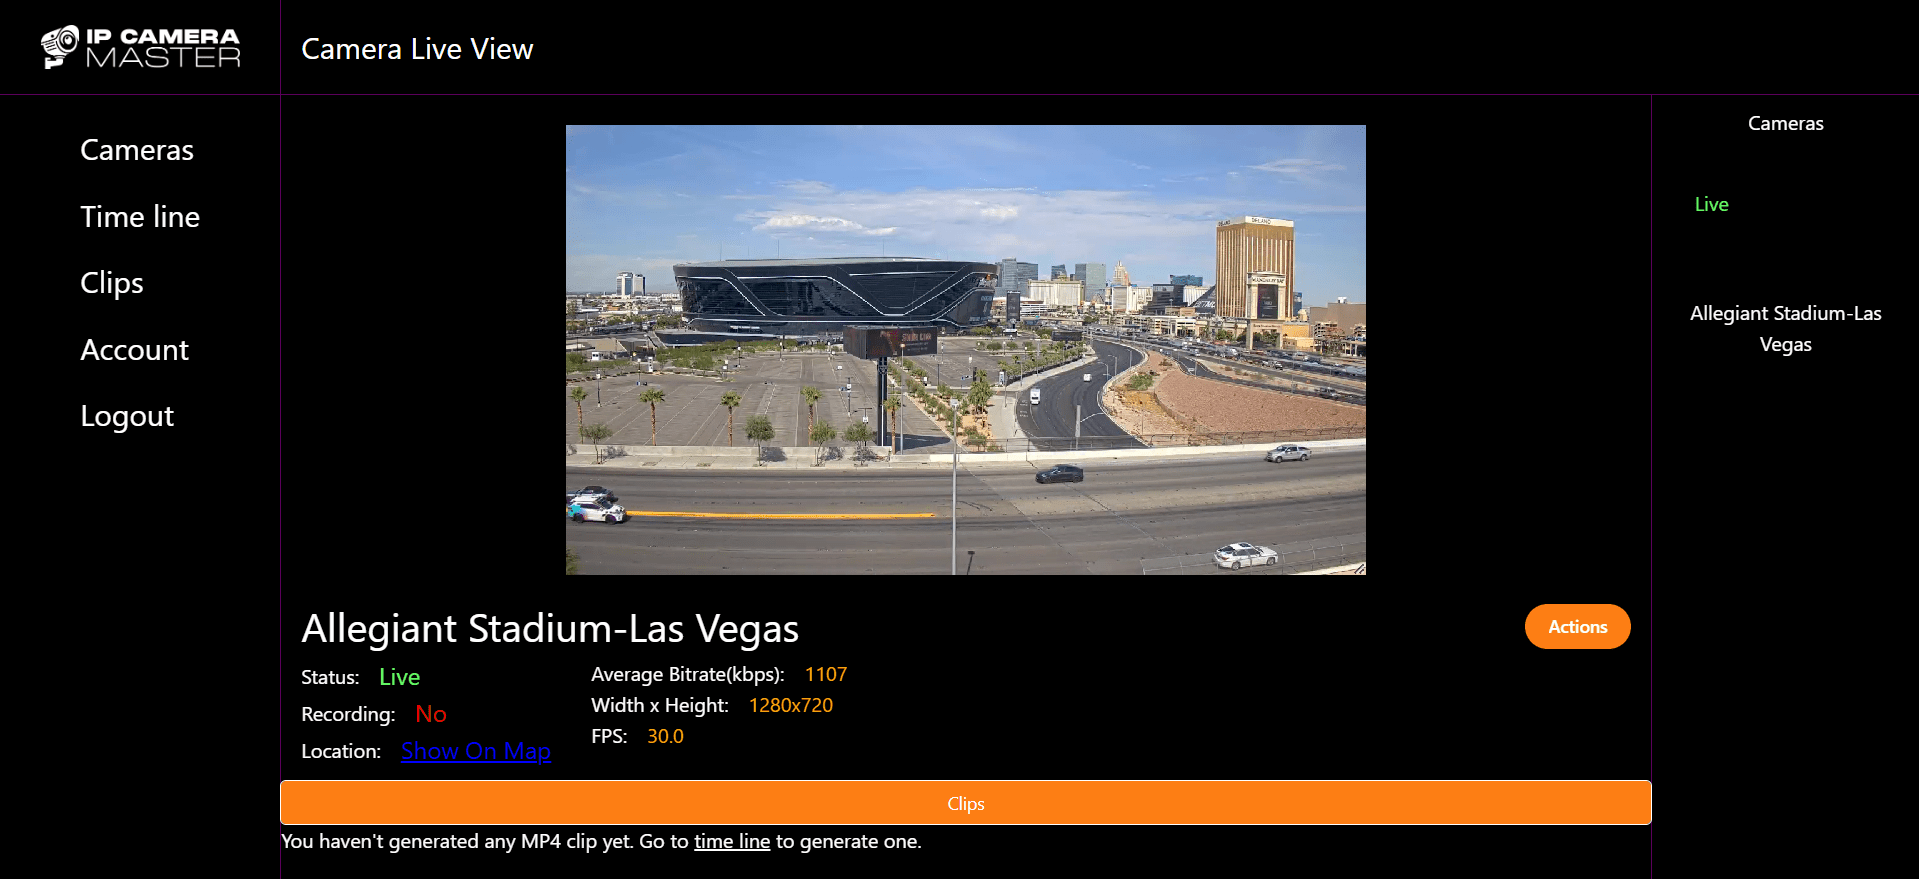
Once your camera is configured to upload frames via FTP, you can start viewing the live feed from your IP Camera Master account.
Log in to your account and navigate to the "FTP" section from the left-hand menu. Select the desired camera to begin viewing the uploaded frames in real time. You can also filter frames by date and time or download them for offline viewing.
Low Latency Live Watching
Most security cameras support RTSP or RTMP protocols to stream live footage to the web. To watch these streams through a web browser, we need a tool to capture and convert them into a compatible format. IP Camera Master simplifies this process by capturing your IP camera's stream and converting it into a format that can be easily viewed on any internet-connected device through dashboard. If you plan to use RTSP, a few initial settings are required to allow IP Camera Master to access your camera's stream.
RTSP Cameras
RTSP is just a way how ip camera master pulls the camera stream. Its supported by nearly all ip cameras. In this section you will learn how to do port forwarding so that IP Camera Master can pull the stream so that you can watch it with low latency through your dashboard. If you camera supports RTMP it is very easy, all you need to do is to set ip camera master rtmp endpoint through your camera firmware panel. This way your camera will push its stream and you will be able to watch with low latency or record it on server. For RTMP no port forwarding or further configuration is required.
Step 1: Port Forwarding
First you will need to port forward the RTSP port in your router to your camera's IP address. For most IP cameras, the default RTSP port is set to 554. To do this you will need to access your router's administration page and locate the port forwarding section.
1. Check Camera Details
- RTSP Port: Identify the RTSP port used by the camera. The default is often
554, but consult your camera's manual to confirm. - Local IP Address: Note the camera's local IP address on your network (e.g.,
192.168.1.100). You can find this through routers page or camera brands software such as SADP Remember your ip camera must be connected to your router through wifi or ethernet cable.
2. Login to Your Router
- Open a web browser and access your router's admin page (e.g.,
192.168.1.1) If you dont know this on windows just type ipconfig to cmd and copy Default Gateway. Then paste it to your browser. - Log in with your credentials. If you never changed them they are default credentials set by your manufacturer. You can google it to find default username/password.
3. Set Up Port Forwarding
- Locate the Port Forwarding or NAT section in the router's settings.
- Create a new port forwarding rule:
- Name: Enter a name (e.g.,
IP Camera). - Protocol: Choose TCP or both TCP/UDP (usually RTSP uses TCP).
- External Port: Choose the port you want to expose to the internet (e.g.,
8554). - Internal Port: Enter the camera's RTSP port (e.g.,
554). - Internal IP: Enter the local IP address of the camera (e.g.,
192.168.1.100). - Save settings
- Go to Port Checker type your camera public ip address and spesified port(e.g. 8554). This website automaticly detect your public ip. Save it. Verify its accessable.
Step 2: Construct RTSP URL
Now we are ready to construct our RTSP url. You will put this URL to IP Camera Master while creating a camera. Your RTSP URL will look like this
Example: rtsp://username:password@176.88.74.83:8554/Streaming/Channels/1
Use your camera username(username), password,(password) public ip(176.88.74.83) and forwarded RTSP port(8554).
To construct it go to RTSP Database , choose your camera brand and check examples.
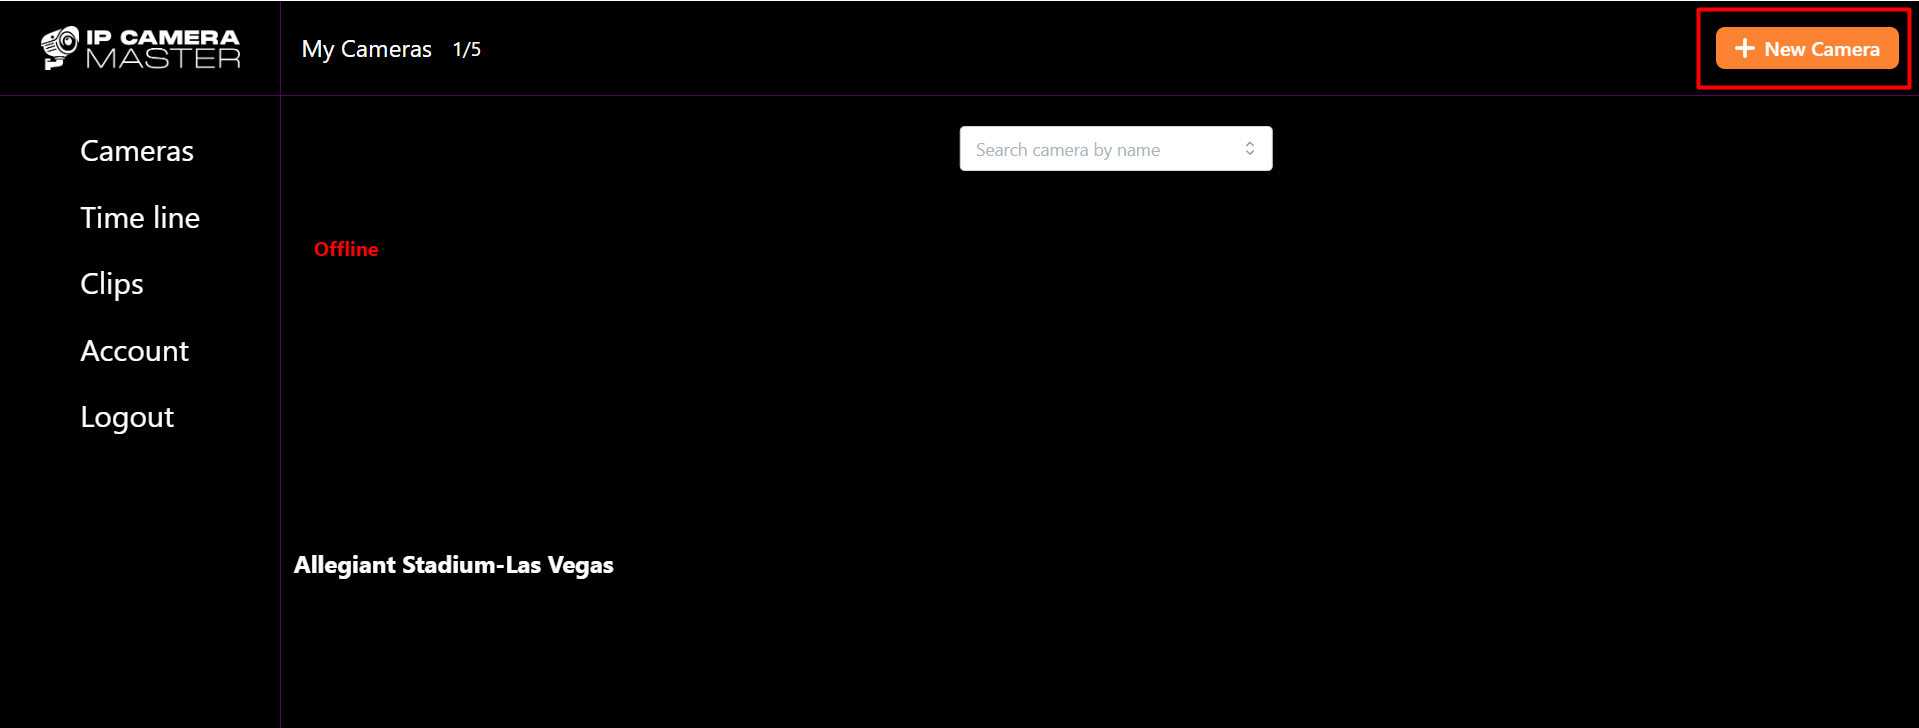
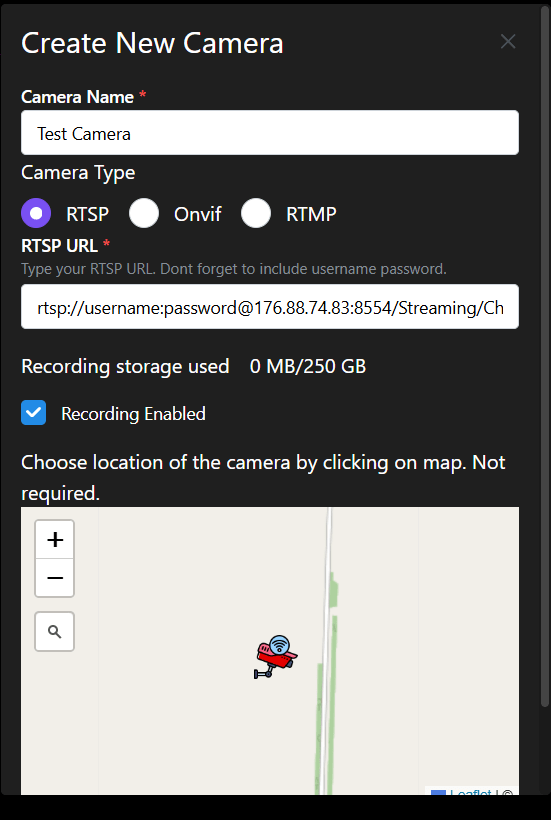
Step 3: Create New Camera On IP Camera Master
Login to IP Camera Master dashboard. Click on "New Camera". Give your camera a name. Choose RTSP and paste the RTSP url you previously constructed. Click create. You will be directed to camera live watch page and your stream should start automatically.